Christmas Bell Sketch 2024: A Comprehensive Guide
Related Articles: Christmas Bell Sketch 2024: A Comprehensive Guide
- Immerse Yourself In The Enchanting World Of Christmas With Grinch 2024 Background Images
- Christmas Bedding Bed Bag 2024: A Comprehensive Guide To Festive Slumber
- Christmas Background Images For Computer 2024: A Festive Touch To Your Digital Landscape
- Deck Your Bed With Festive Flair: A Comprehensive Guide To Christmas Bedding From Walmart Canada 2024
- Celebrate The Grinch’s Festive Spirit With Christmas Bedding For 2024
Introduction
In this auspicious occasion, we are delighted to delve into the intriguing topic related to Christmas Bell Sketch 2024: A Comprehensive Guide. Let’s weave interesting information and offer fresh perspectives to the readers.
Table of Content
Video about Christmas Bell Sketch 2024: A Comprehensive Guide
Christmas Bell Sketch 2024: A Comprehensive Guide
Introduction
The Christmas bell, an iconic symbol of the holiday season, evokes a sense of joy, peace, and goodwill. Its melodious sound heralds the arrival of Christmas and fills hearts with festive cheer. In 2024, Christmas will be celebrated on Wednesday, December 25th, and preparations for this joyous occasion are already underway. One essential aspect of Christmas preparations is the creation of a Christmas bell sketch, which serves as a blueprint for crafting this festive ornament.
Materials Required
To create a Christmas bell sketch, you will need the following materials:
- Paper (plain or graph paper)
- Pencil (HB or 2B)
- Eraser
- Ruler or measuring tape
- Compass or protractor (optional)
Step-by-Step Instructions
1. Determine the Size of the Bell:
Begin by deciding on the desired size of your Christmas bell. The size will depend on the intended use of the bell, such as a tree ornament, a door decoration, or a gift tag.
2. Draw a Circle for the Bell’s Body:
Using a compass or protractor, draw a circle on the paper. The diameter of the circle will determine the width of the bell’s body.
3. Mark the Center of the Circle:
Locate the center of the circle and mark it with a small dot. This dot will serve as a reference point for drawing the rest of the bell.
4. Draw the Bell’s Clapper:
Draw a vertical line through the center of the circle, extending it beyond the top of the circle. This line represents the bell’s clapper.
5. Draw the Bell’s Rim:
Draw two parallel lines above the circle, approximately 1/4 to 1/3 of the circle’s diameter apart. These lines represent the bell’s rim.
6. Connect the Rim to the Clapper:
Draw two curved lines from the ends of the rim to the top of the clapper. These lines will form the bell’s crown.
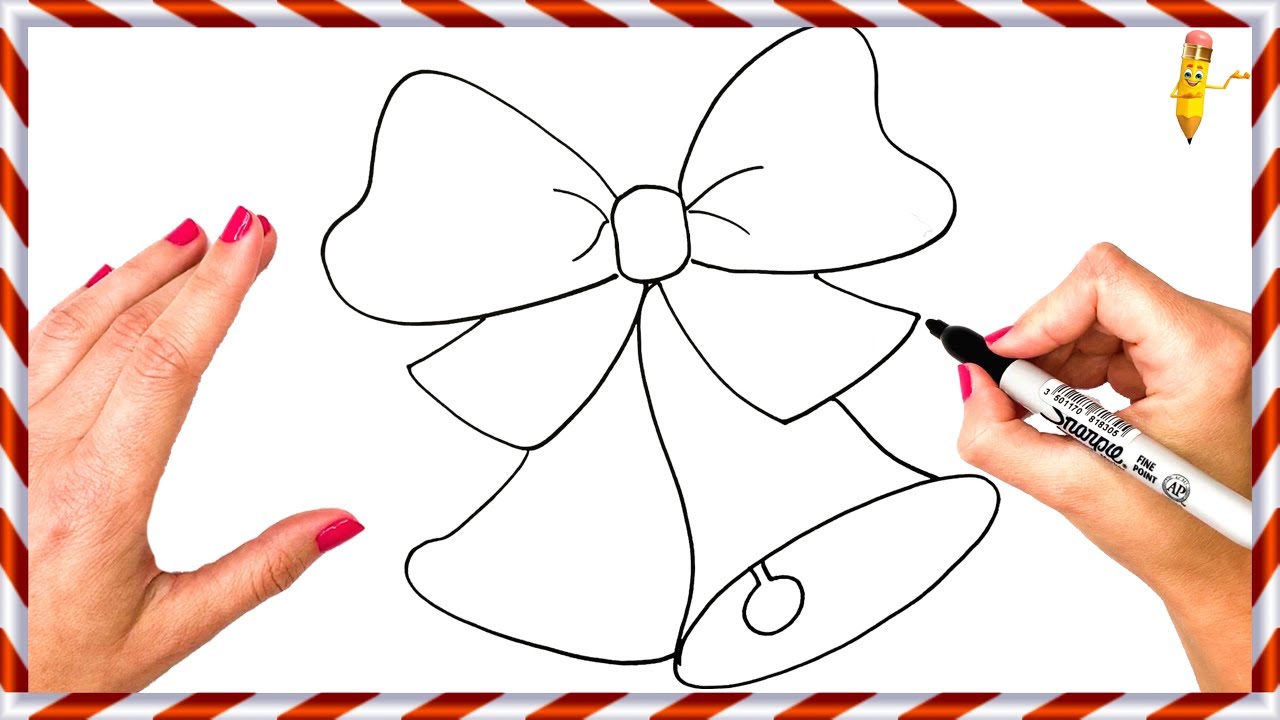
7. Add Details (Optional):
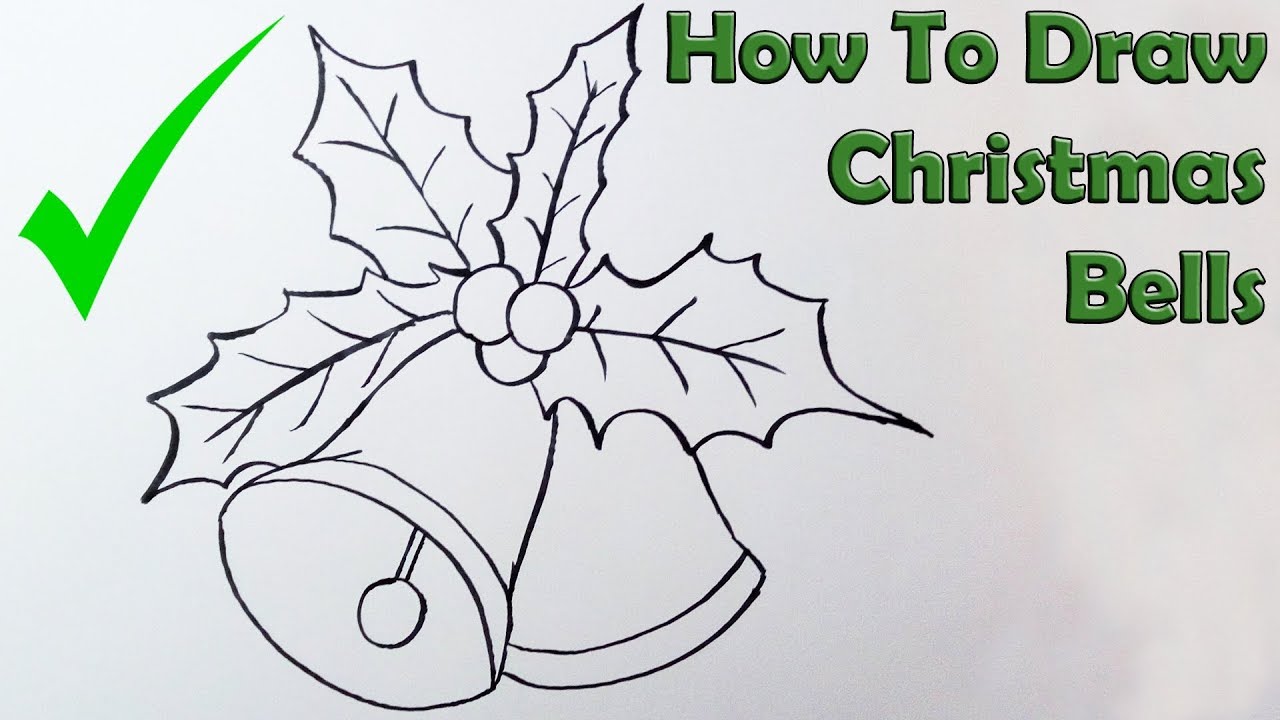
To enhance the sketch, you can add details such as a bow, ribbon, or holly leaves around the bell’s crown. You can also draw a star or snowflake on the bell’s body.
8. Erase Unnecessary Lines:
Once you are satisfied with the sketch, erase any unnecessary construction lines.
9. Ink the Sketch (Optional):
If desired, you can ink the sketch using a pen or marker to make it more permanent.
Tips for Creating a Realistic Sketch
- Use a light touch with the pencil to avoid smudging.
- Pay attention to the proportions of the bell’s different parts.
- Use a ruler or measuring tape to ensure accuracy.
- Add shading to create depth and dimension.
- Practice sketching the bell several times to improve your technique.
Variations on the Christmas Bell Sketch
The basic Christmas bell sketch can be modified in various ways to create different designs. Here are a few ideas:
- Inverted Bell: Draw the bell upside down, with the clapper at the bottom.
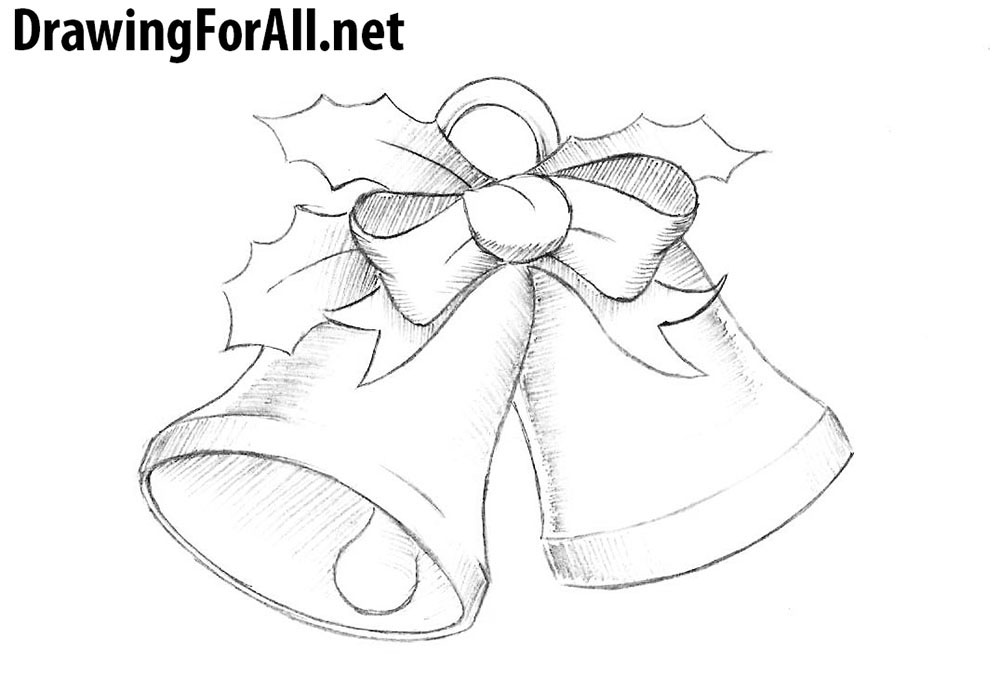
- Double Bell: Draw two bells connected by a ribbon or bow.
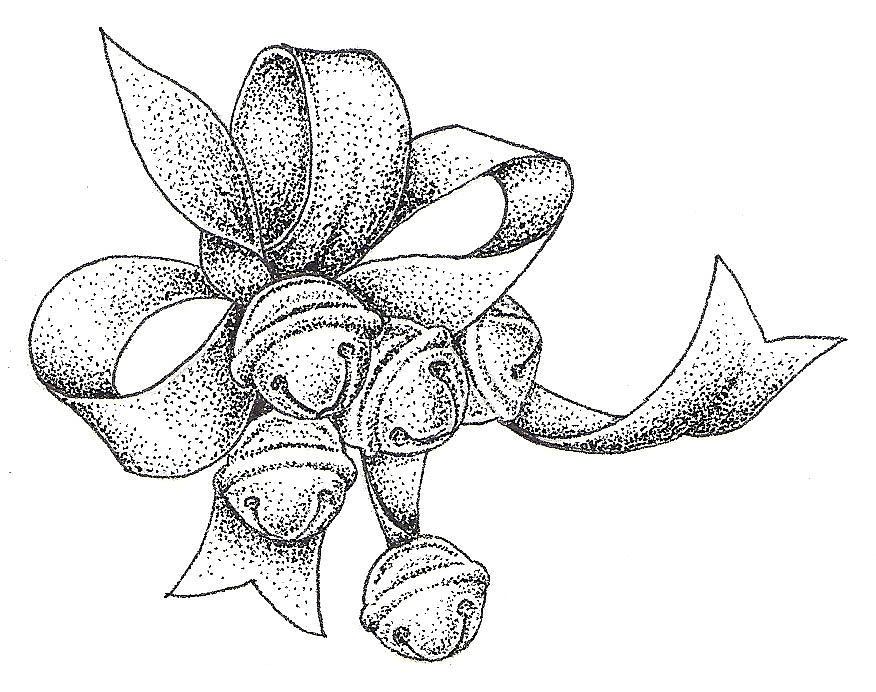
- Bell with Bells: Draw a bell with smaller bells hanging from its rim.
- Bell with Wings: Draw a bell with angel wings on either side.
- Bell with a Star: Draw a bell with a star on its crown.
Uses of a Christmas Bell Sketch
A Christmas bell sketch can be used for various purposes, including:
- Creating Christmas Ornaments: Use the sketch as a template for cutting out and decorating Christmas bell ornaments.
- Making Gift Tags: Draw the sketch on cardstock and cut it out to create festive gift tags.
- Decorating Greeting Cards: Incorporate the sketch into Christmas greeting cards for a personal touch.
- Embroidery or Cross-Stitch: Use the sketch as a pattern for embroidering or cross-stitching Christmas bells.
- Paper Cutting: Cut out the sketch from paper to create delicate Christmas bell decorations.
Conclusion
Creating a Christmas bell sketch is a fun and rewarding activity that can add a festive touch to your holiday preparations. By following the step-by-step instructions and experimenting with different variations, you can create unique and meaningful Christmas bell designs. Whether you use the sketch for crafting ornaments, making gift tags, or simply as a festive drawing, it will undoubtedly bring joy and cheer to your Christmas celebration.


Closure
Thus, we hope this article has provided valuable insights into Christmas Bell Sketch 2024: A Comprehensive Guide. We thank you for taking the time to read this article. See you in our next article!