Christmas Candy Holder Craft: A Festive Addition to Your Holiday Decorations
Related Articles: Christmas Candy Holder Craft: A Festive Addition to Your Holiday Decorations
- Christmas Bells: The Enchanting Violin Of 2024
- Christmas Border Images Transparent 2024: Adorn Your Designs With Festive Cheer
- Experience The Merriment Of Christmas With An Enchanting King Bedding Set For 2024
- Christmas Border: The North Pole 2024
- Christmas Bedding Sets Ireland 2024: A Festive Guide To Cozy Nights
Introduction
With enthusiasm, let’s navigate through the intriguing topic related to Christmas Candy Holder Craft: A Festive Addition to Your Holiday Decorations. Let’s weave interesting information and offer fresh perspectives to the readers.
Table of Content
Video about Christmas Candy Holder Craft: A Festive Addition to Your Holiday Decorations
Christmas Candy Holder Craft: A Festive Addition to Your Holiday Decorations

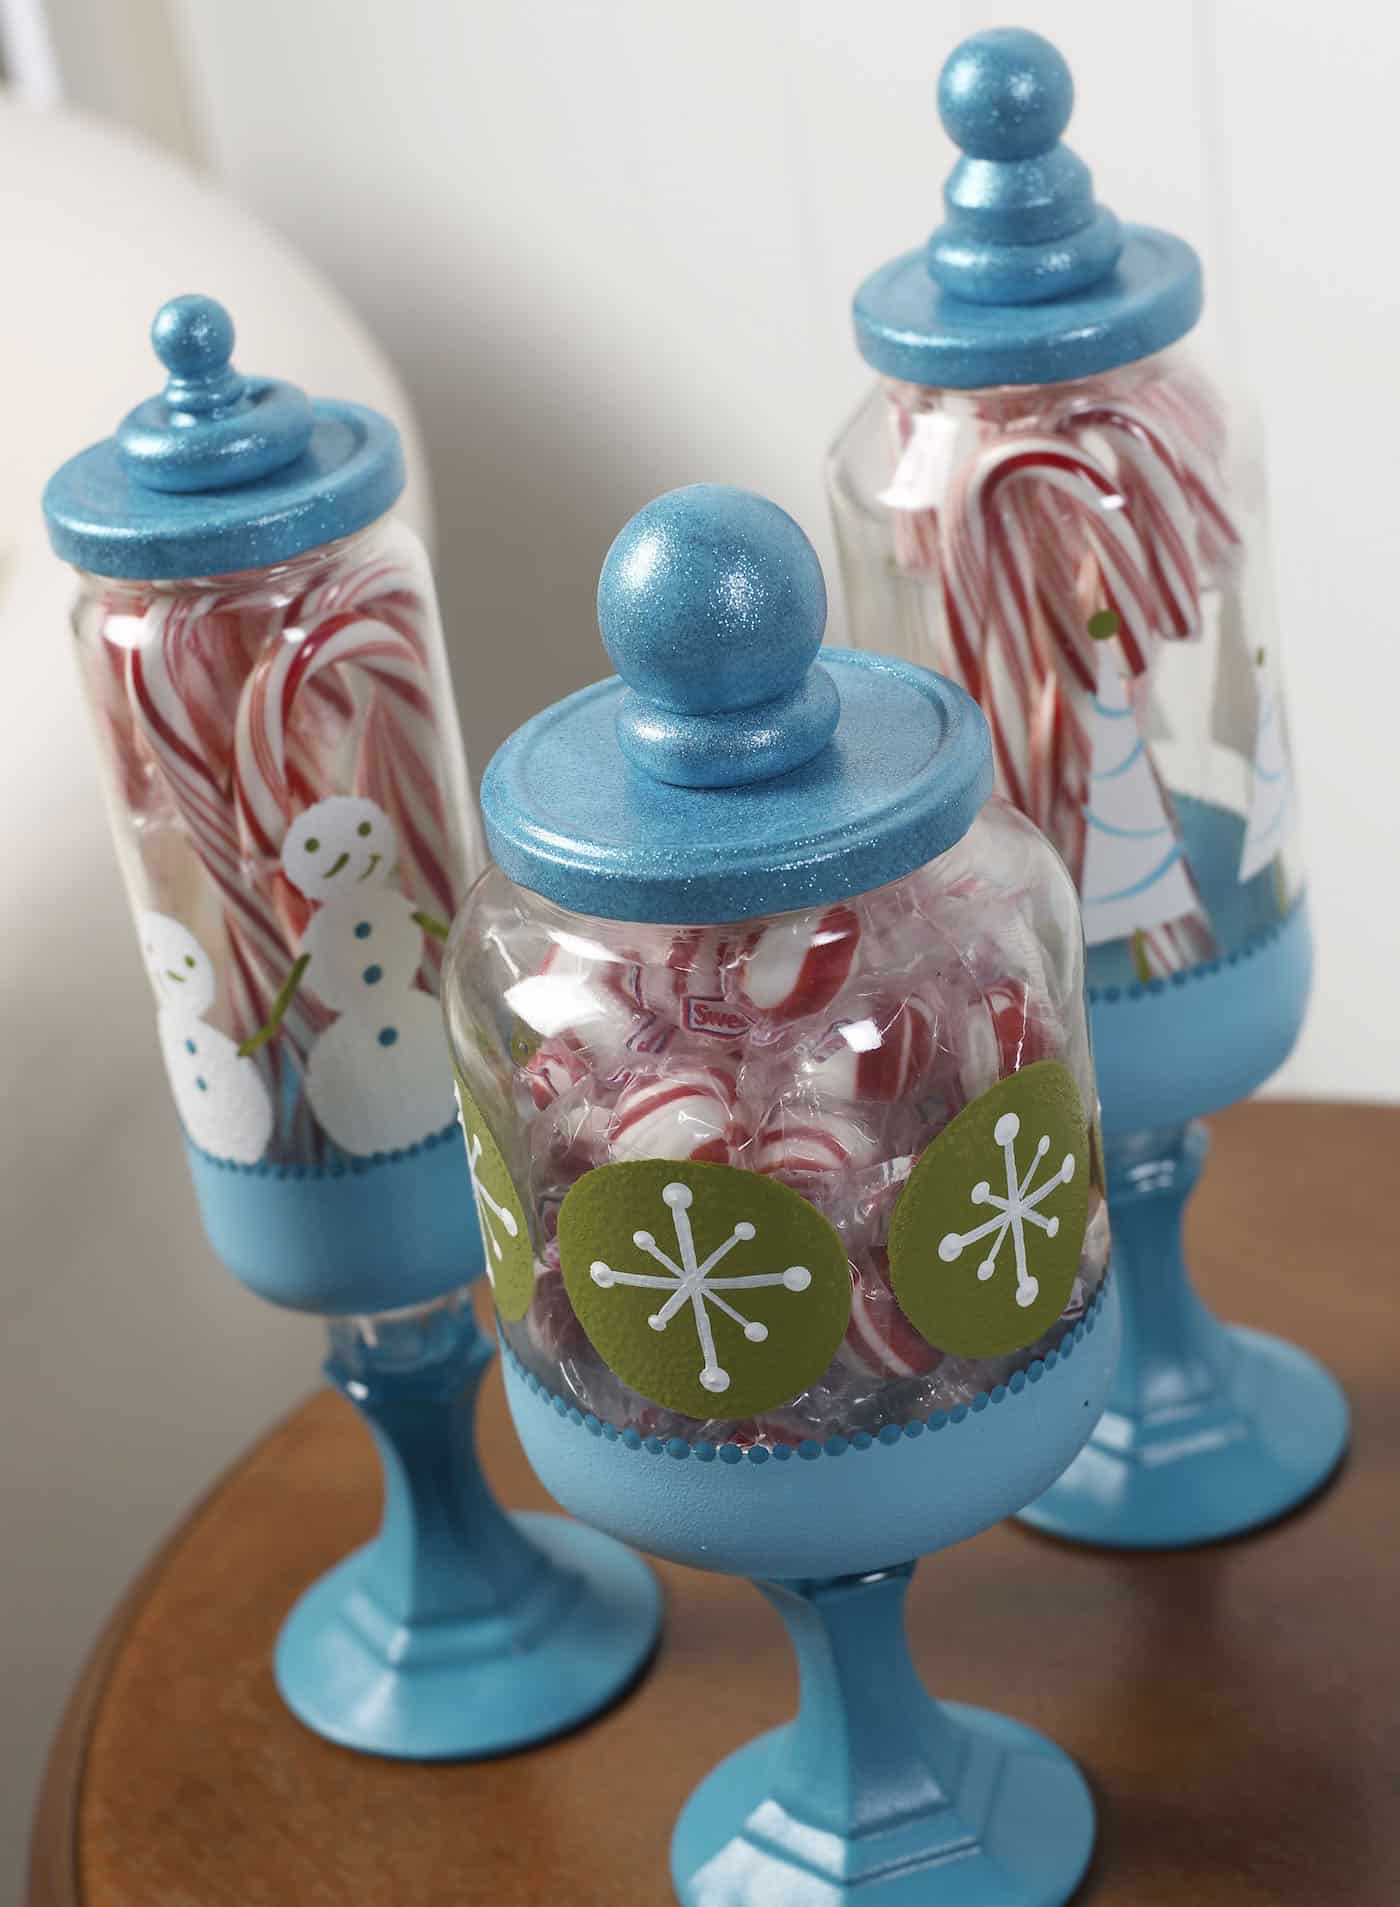
The holiday season is a time for joy, laughter, and sweet treats. One way to add a touch of cheer to your home is by creating your own Christmas candy holder. This fun and easy craft is a great way to get into the holiday spirit and create something unique and festive.
In this article, we’ll provide you with step-by-step instructions on how to make a Christmas candy holder using simple materials that you can find at your local craft store. We’ll also offer some creative ideas for personalizing your candy holder to make it truly one-of-a-kind.
Materials You’ll Need:
- Cardboard
- Scissors
- Ruler or measuring tape
- Pencil or pen
- Glue or tape
- Ribbon or yarn
- Decorations of your choice (such as glitter, stickers, paint, or fabric)
Instructions:
- Choose the size and shape of your candy holder. You can make your candy holder any size or shape you want, but a good starting point is to make it about 6 inches tall and 4 inches wide.
- Cut out two pieces of cardboard. Cut out two pieces of cardboard that are the same size and shape.
- Score the cardboard. Use a ruler or measuring tape to score the cardboard along the edges, about 1 inch from the edge. This will make it easier to fold the cardboard later.
- Fold the cardboard. Fold the cardboard along the scored lines to create a box shape.
- Glue or tape the box together. Glue or tape the edges of the box together to secure it.
- Decorate your candy holder. This is where you can get creative and personalize your candy holder. You can use glitter, stickers, paint, or fabric to decorate it. You can also add a ribbon or yarn bow to the top of the candy holder.
Creative Ideas for Personalizing Your Candy Holder:
- Use Christmas-themed decorations. You can use Christmas-themed decorations such as glitter, stickers, paint, or fabric to decorate your candy holder. This will give it a festive look that will be perfect for the holiday season.
- Add a personal touch. You can add a personal touch to your candy holder by adding your child’s name or initials to it. You can also add a photo of your family or a special message.
- Make it interactive. You can make your candy holder interactive by adding a game or activity to it. For example, you could create a candy holder that has a maze or puzzle on it.
Conclusion:
Making a Christmas candy holder is a fun and easy way to add a touch of cheer to your home during the holiday season. With a little creativity, you can create a candy holder that is unique and one-of-a-kind. So get started today and make your own Christmas candy holder!


Closure
Thus, we hope this article has provided valuable insights into Christmas Candy Holder Craft: A Festive Addition to Your Holiday Decorations. We appreciate your attention to our article. See you in our next article!