Creating a Festive Christmas Border in Microsoft Word 2024
Related Articles: Creating a Festive Christmas Border in Microsoft Word 2024
- Christmas Baskets For Sale 2024: Spread Holiday Cheer With Thoughtful Gifts
- Christmas Border Clipart: A Festive Touch For Your Word 2024 Documents
- Christmas Bells Wall Decor 2024: A Symphony Of Festive Charm
- Christmas Border Modern 2024: A Guide To The Latest Trends
- Christmas Background Images 2024: Capture The Festive Spirit With Enchanting Visuals
Introduction
With great pleasure, we will explore the intriguing topic related to Creating a Festive Christmas Border in Microsoft Word 2024. Let’s weave interesting information and offer fresh perspectives to the readers.
Table of Content
Video about Creating a Festive Christmas Border in Microsoft Word 2024
Creating a Festive Christmas Border in Microsoft Word 2024

Introduction
The holiday season is a time for joy, cheer, and festive decorations. Microsoft Word 2024 offers a wide range of tools to help you create beautiful Christmas-themed documents, including the ability to add borders with festive designs. In this article, we will guide you through the process of creating a custom Christmas border in Word 2024, step by step.
Step 1: Open a New Document
Begin by opening a new blank document in Microsoft Word 2024. You can do this by clicking on the "File" tab and selecting "New."
Step 2: Insert a Picture
To add a Christmas-themed border to your document, you will need to insert a picture. Click on the "Insert" tab and select "Pictures." Browse your computer for a suitable image, such as a festive holiday scene or a collection of Christmas ornaments.
Step 3: Format the Picture
Once you have inserted the picture, you can format it to fit your needs. Click on the picture to select it, and then use the "Format" tab to adjust its size, position, and other settings. You can also crop the picture to focus on a specific area.
Step 4: Create a Border
Now, let’s create the border around the picture. Click on the "Design" tab and select "Page Borders." In the "Page Borders" dialog box, click on the "Custom" tab.
Step 5: Choose a Border Style
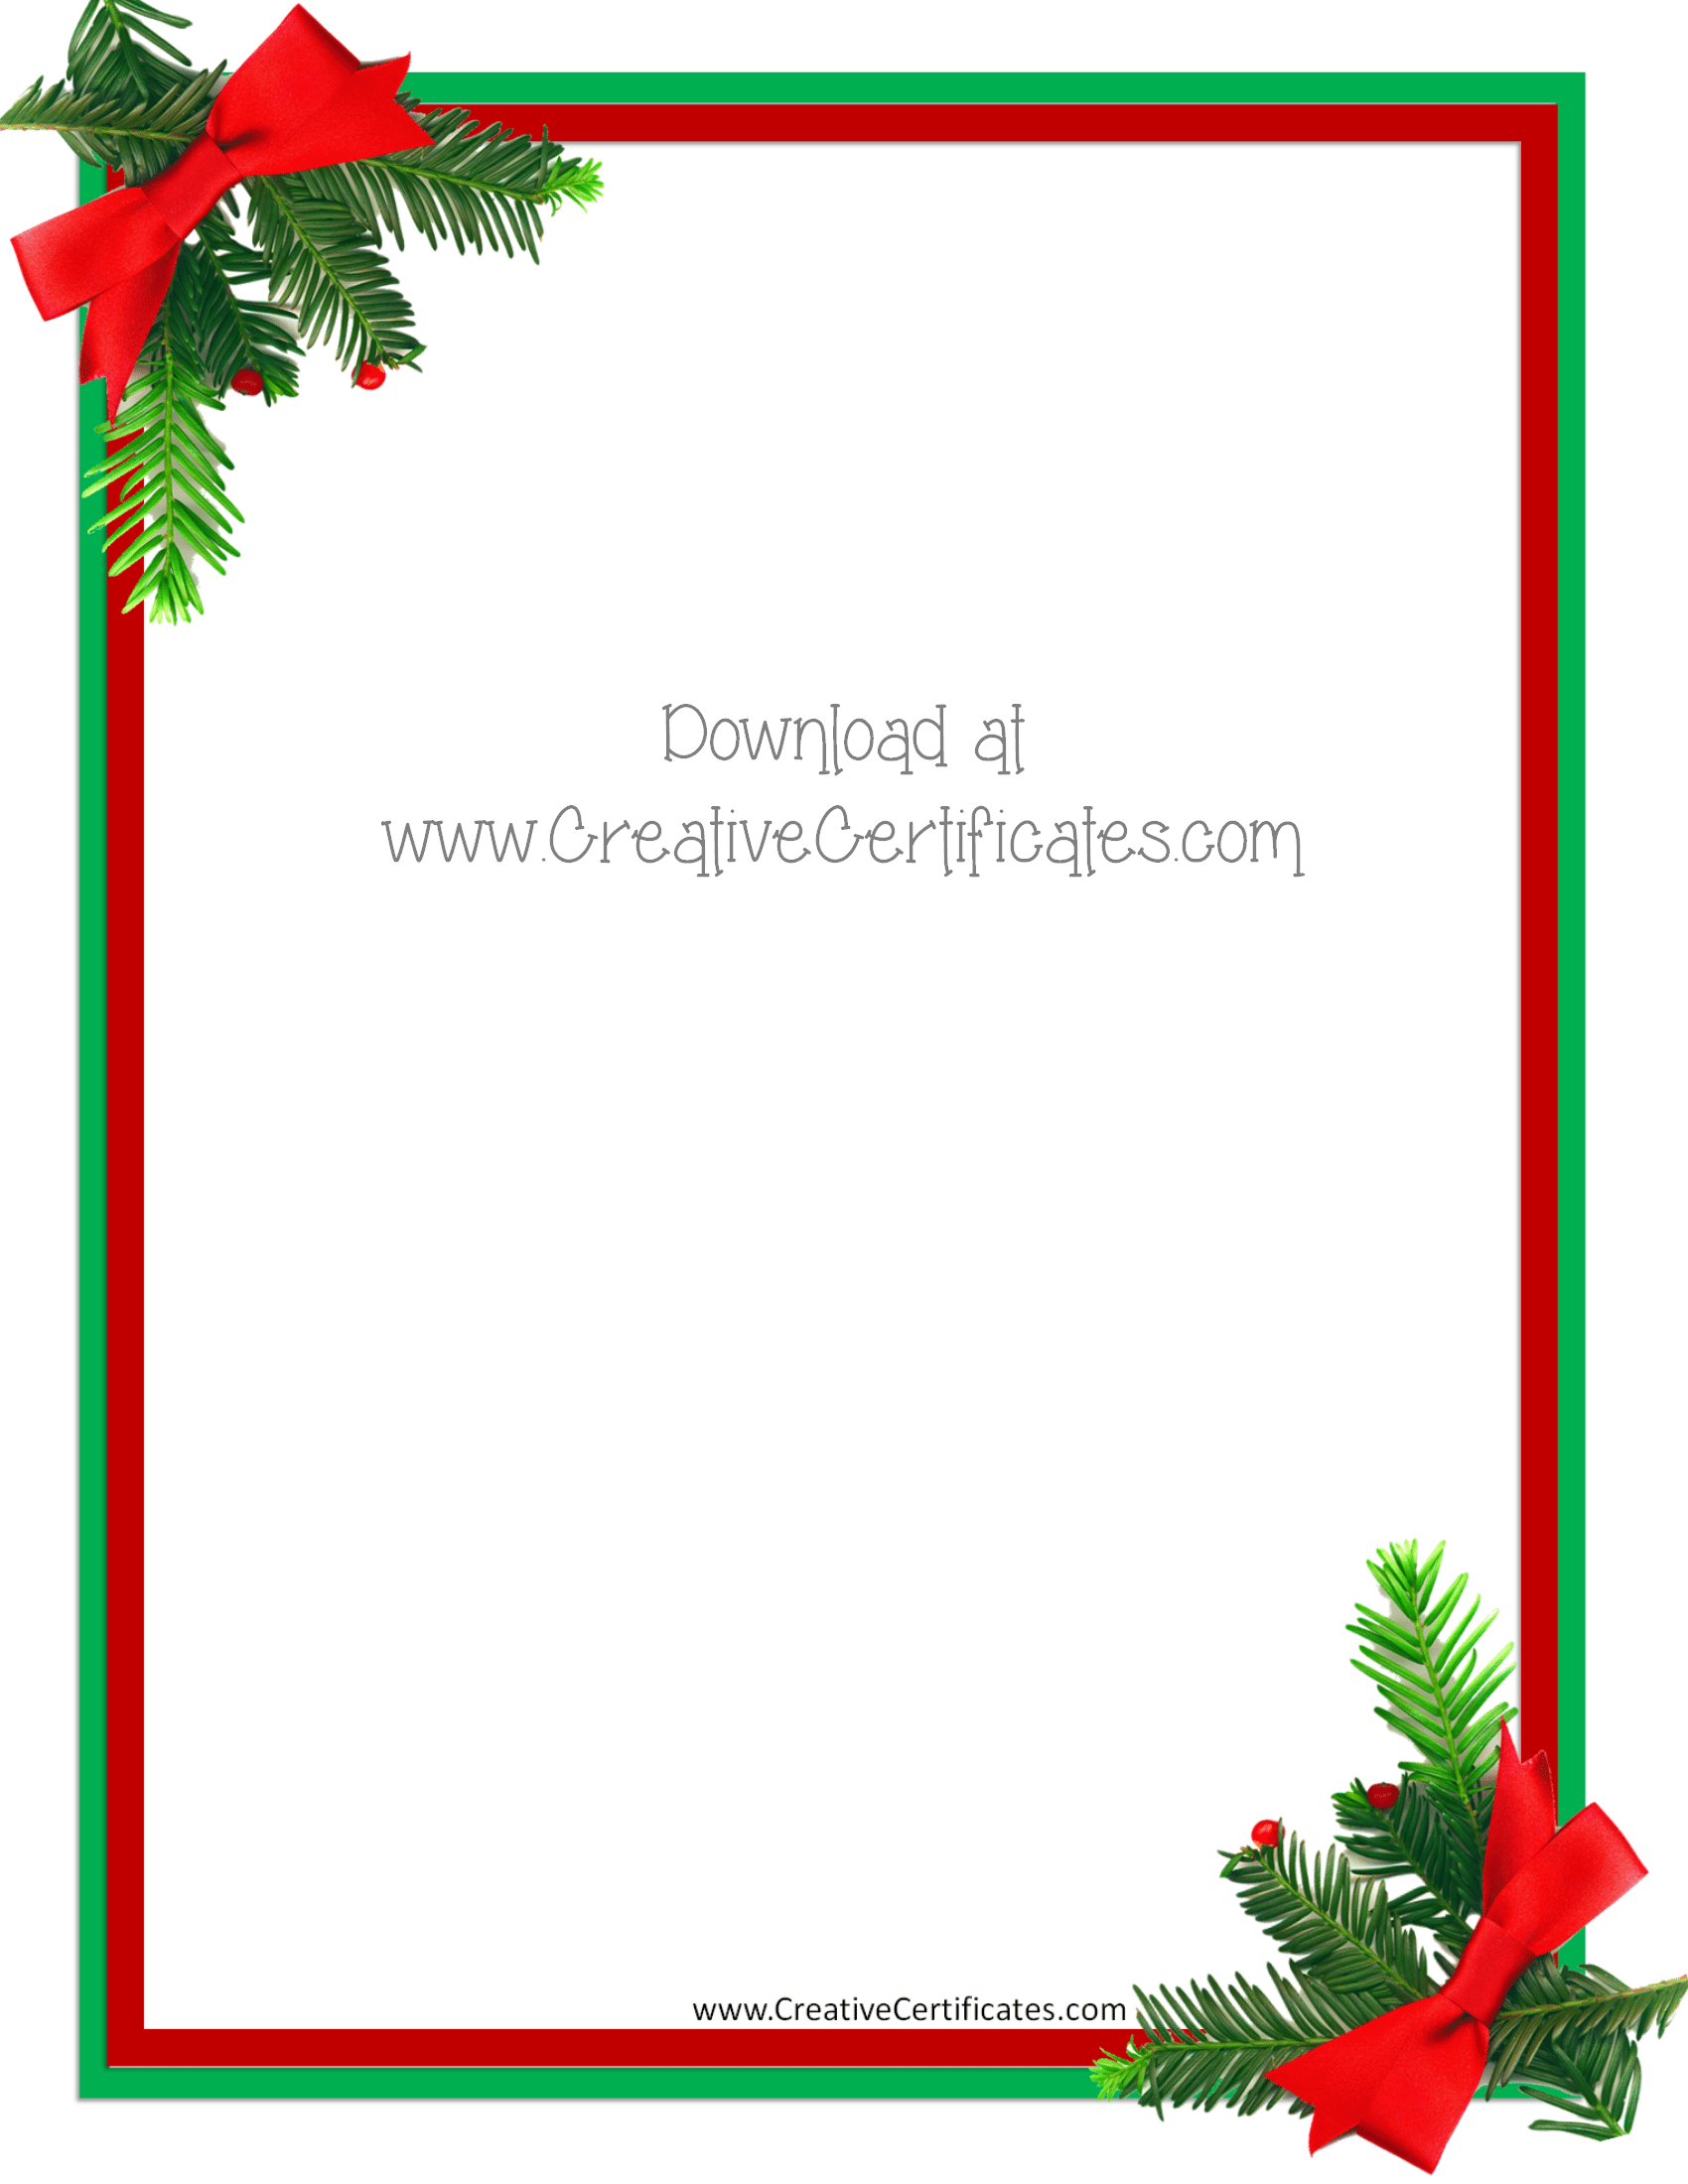
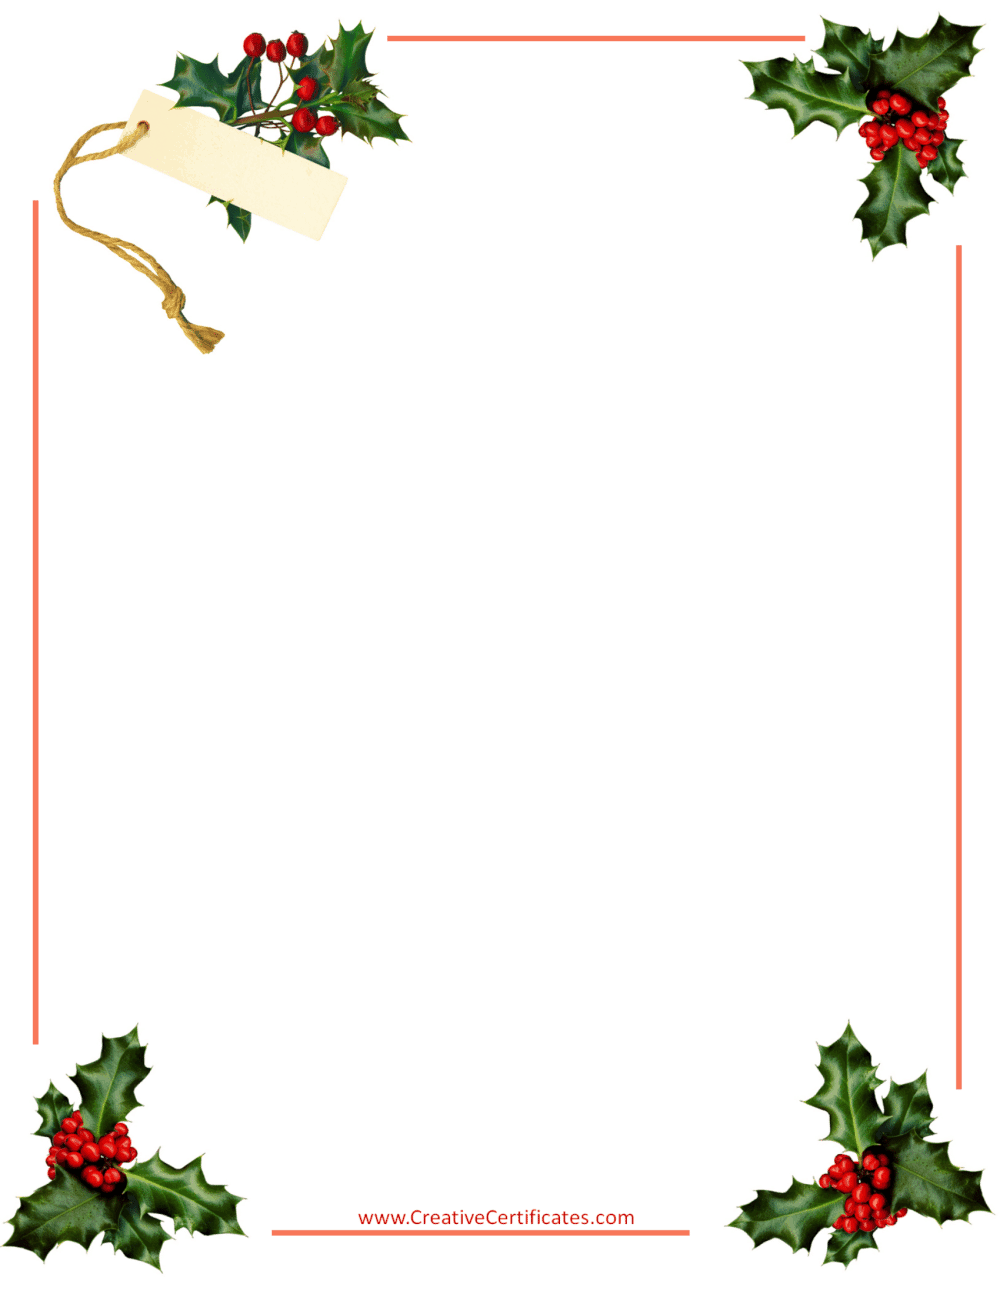
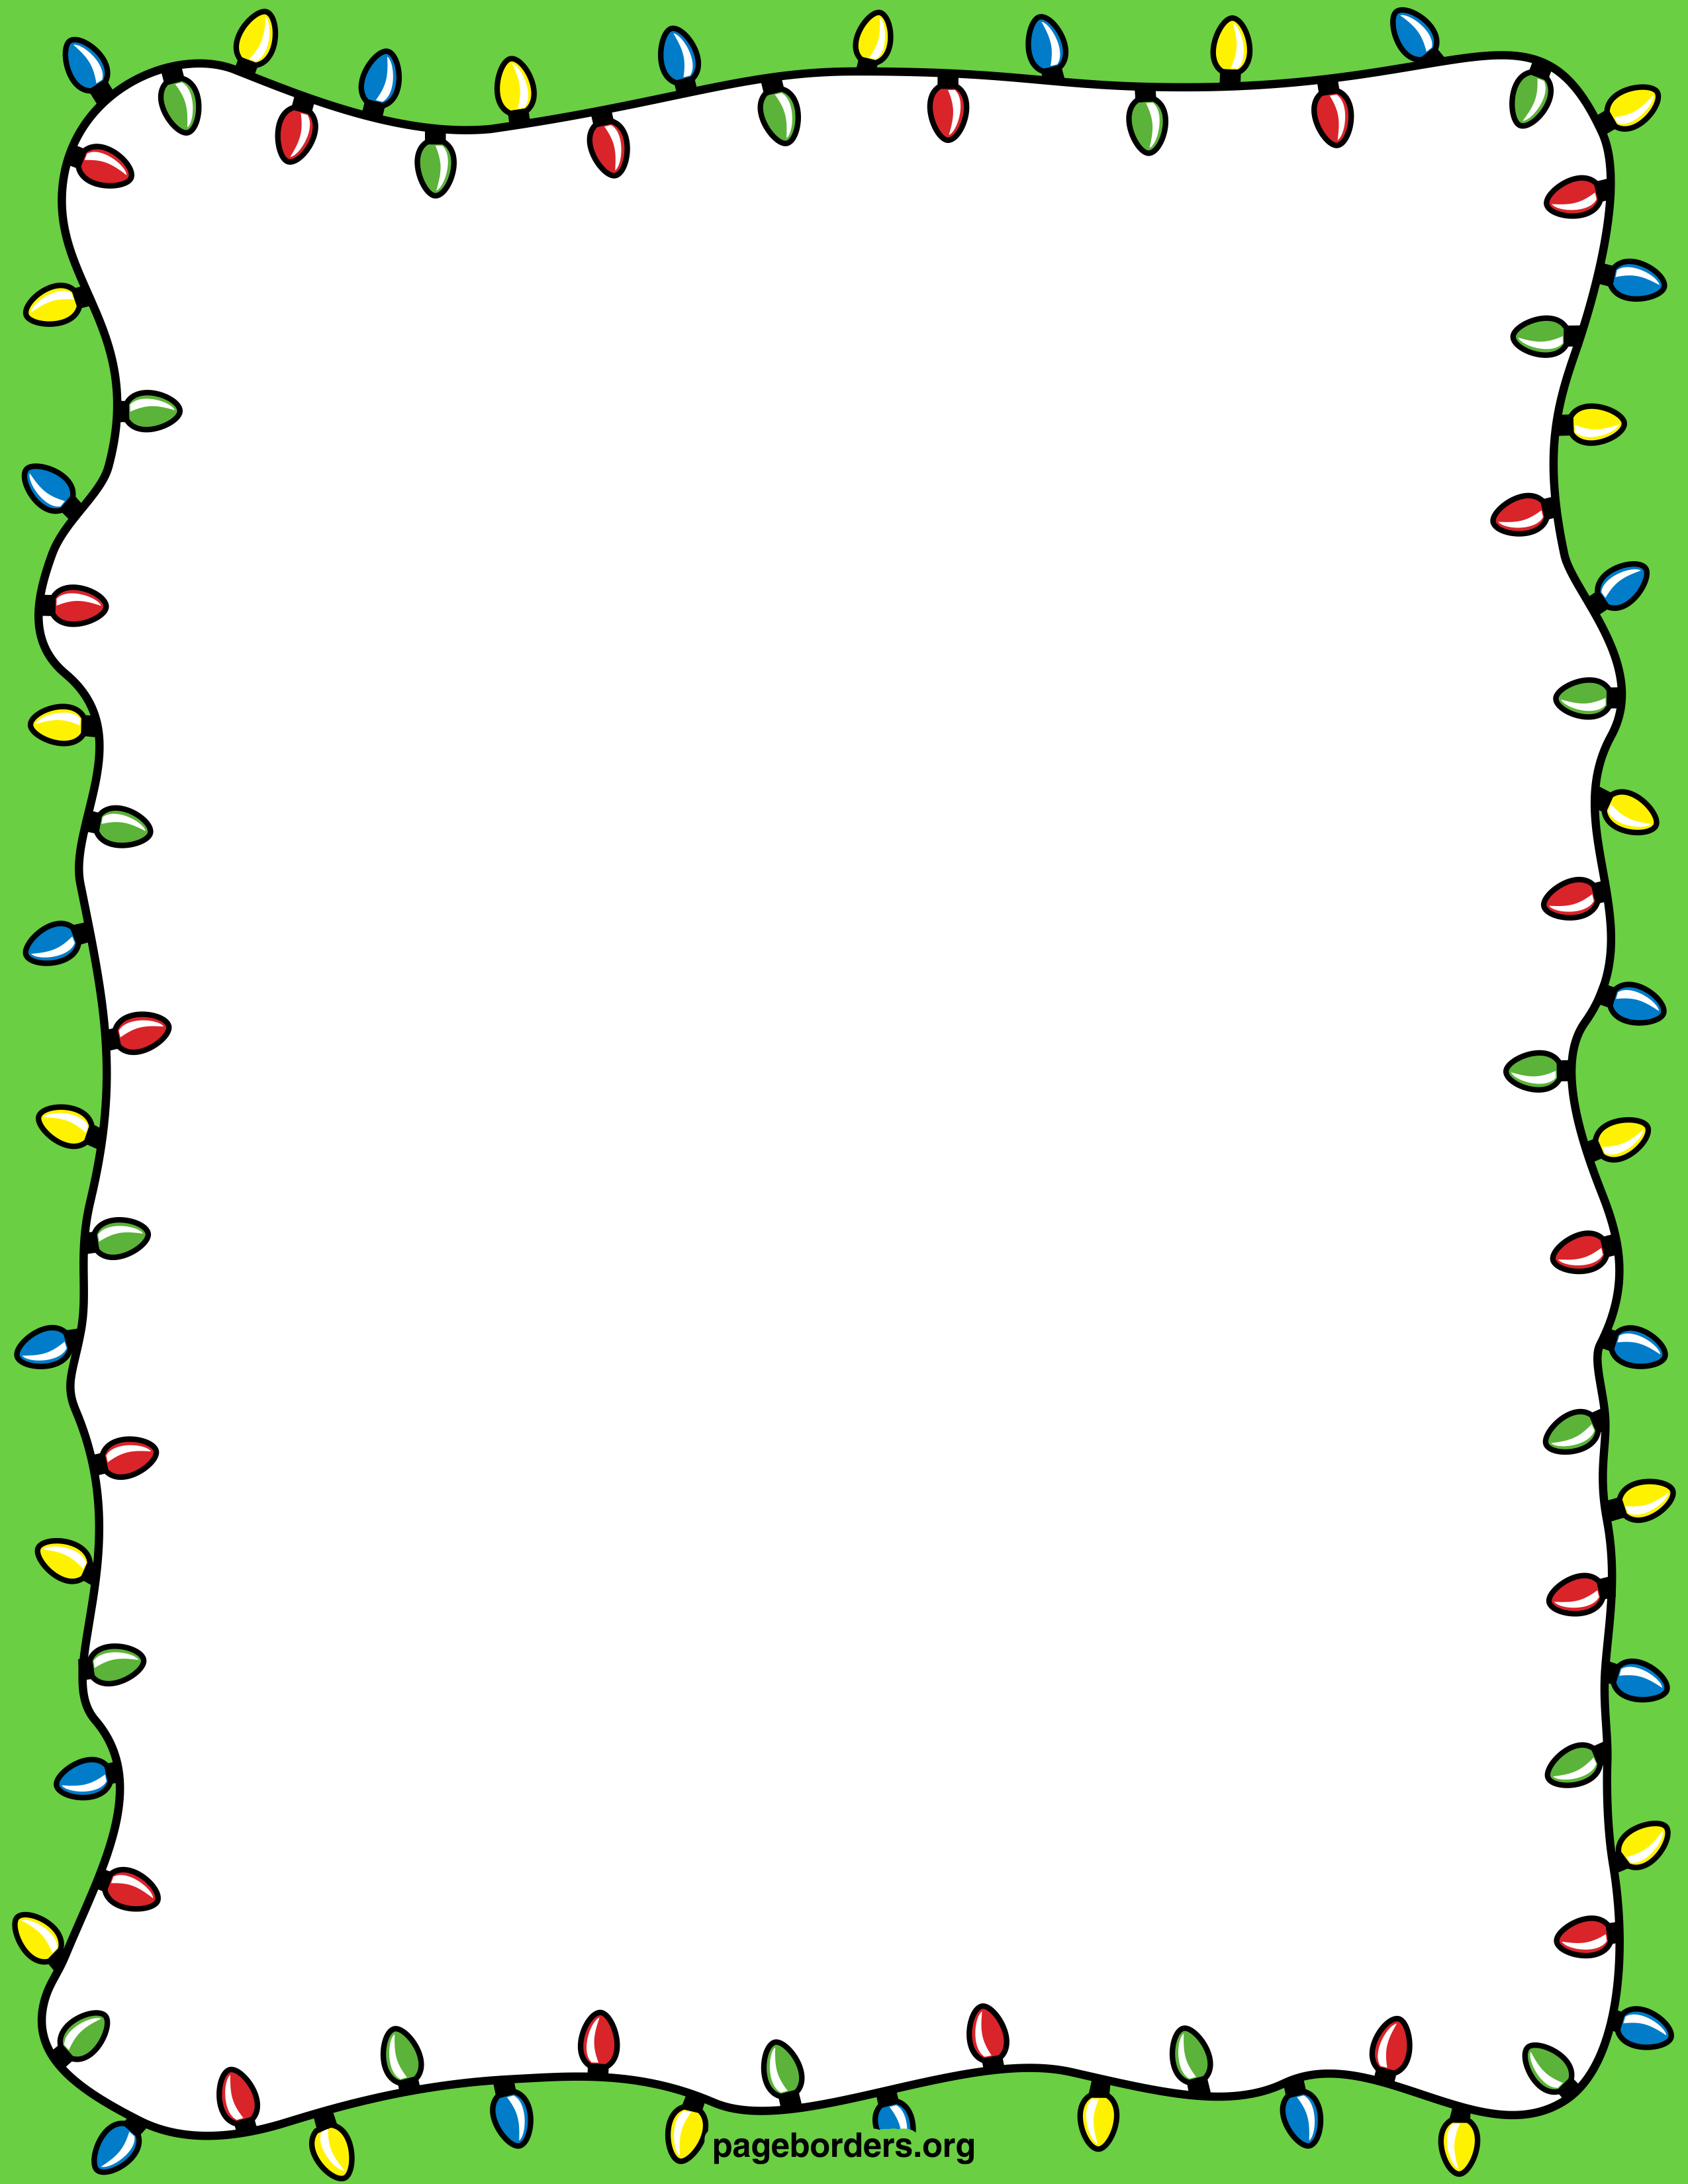
In the "Custom" tab, you will find a variety of border styles to choose from. For a Christmas-themed border, you can select a style that features festive elements such as snowflakes, ornaments, or holly leaves.
Step 6: Adjust the Border Width
Once you have chosen a border style, you can adjust its width using the "Width" dropdown menu. The width of the border will determine how prominent it is on the page.
Step 7: Set the Border Color
You can also customize the color of the border to match your document’s theme. Click on the "Color" dropdown menu and select a color that complements the picture and the overall design of your document.
Step 8: Apply the Border
After you have made all the necessary adjustments, click on the "Apply" button to apply the border to the picture. You will see the border appear around the image on your document.
Step 9: Repeat for Multiple Pictures
If you want to add borders to multiple pictures in your document, simply repeat the process outlined above for each picture. You can use the same border style or experiment with different styles to create a cohesive and visually appealing look.
Step 10: Save Your Document
Once you are satisfied with the Christmas border you have created, save your document by clicking on the "File" tab and selecting "Save As." Choose a suitable file name and location, and click on "Save" to preserve your work.
Conclusion
Creating a custom Christmas border in Microsoft Word 2024 is a simple and effective way to add a festive touch to your holiday documents. By following the steps outlined in this article, you can easily incorporate festive designs and colors into your documents, creating a visually appealing and memorable experience for your readers.


:max_bytes(150000):strip_icc()/Transparent_Christmas_Photo_Frame_with_Pine_and_Mistletoe-579bcc9c3df78c32766eeb19.png)


Closure
Thus, we hope this article has provided valuable insights into Creating a Festive Christmas Border in Microsoft Word 2024. We appreciate your attention to our article. See you in our next article!